Alphabet, Arctic Animals, Counting, Fine Motor Skills, Sensory Play, Winter

MORE Penguin Activities for Preschool

There’s been a lot of penguin fun in our playroom this week! Penguins are a perfect theme to explore during the winter months. There are so many fun penguin activity ideas for preschoolers. I’m excited to share with you some penguin sensory activities, loose parts play, a penguin number sort, and a penguin letter matching activity. Take a look!

Sensory bins are by far my favorite activity to prepare for preschoolers. I usually prepare 3 – 4 each month to rotate in and out of our playroom. They always inspire long stretches of imaginative play. This penguin themed sensory bin is super simple. It has a cotton ball base to resemble snow, foam snowflake stickers and plastic penguin figures (Amazon). My 4 year old daughter, Lillian, had a blast hiding penguins under the “snow” and making the other penguins look for them. She also set them all up in a circle and hosted a penguin dance off. She loved it!!

Another incredibly simple penguin sensory activity that we enjoyed was playing with penguins in shaving cream. I gave my daughter a tray with a generous pile of shaving cream and two small penguin figurines. These particular penguins are from the Safari LTD Penguin Toob that I purchased at Michael’s. I like these penguins especially because they are positioned on their bellies, perfect for sliding around in the shaving cream. 

We used the penguins to make letters, shapes and designs in the shaving cream. Lillian never hesitates when it comes to getting messy so she was happy to use her hands to make a design, wipe it away and make a new one. This is an activity that stays fun year after year. I keep it on hand for her older brothers too!

Now that Lillian has finally stopped putting everything little thing in her mouth, we are really diving into the world of loose parts play. I set up a fun arrangement for a penguin themed loose parts invitation to play and Lillian dived right in! This set up included blue and white pom poms, blue and clear flat marbles, acrylic snowflake scatter, reusable ice cubes, small blue and clear plastic cups, and blue and white unifix cubes. The clear plastic trays they are presented in are from Dollar Tree. I used felt sheets to define each child’s work space and more penguin figurines from the Penguin Toob. 

Lilly got right to work gathering up materials for her penguin world. She very carefully arranged the pieces and added her penguins in their new little home. She made them a bridge and some ocean to swim in. This activity held her attention for a while as she practiced manipulating all the little parts, strengthening her fine motor skills and improving concentration. 

I even joined in the fun too! It was so relaxing to build and create with all these little parts. When Lillian was finished, she asked me to leave it out so she could come back and build more later! We will definitely be adding more loose parts activities to our plans!

Here is her creation from the second round of building. I found her doing this completely independently a couple days after introducing this activity. She was so proud of what she had built, she wanted me to take a picture!

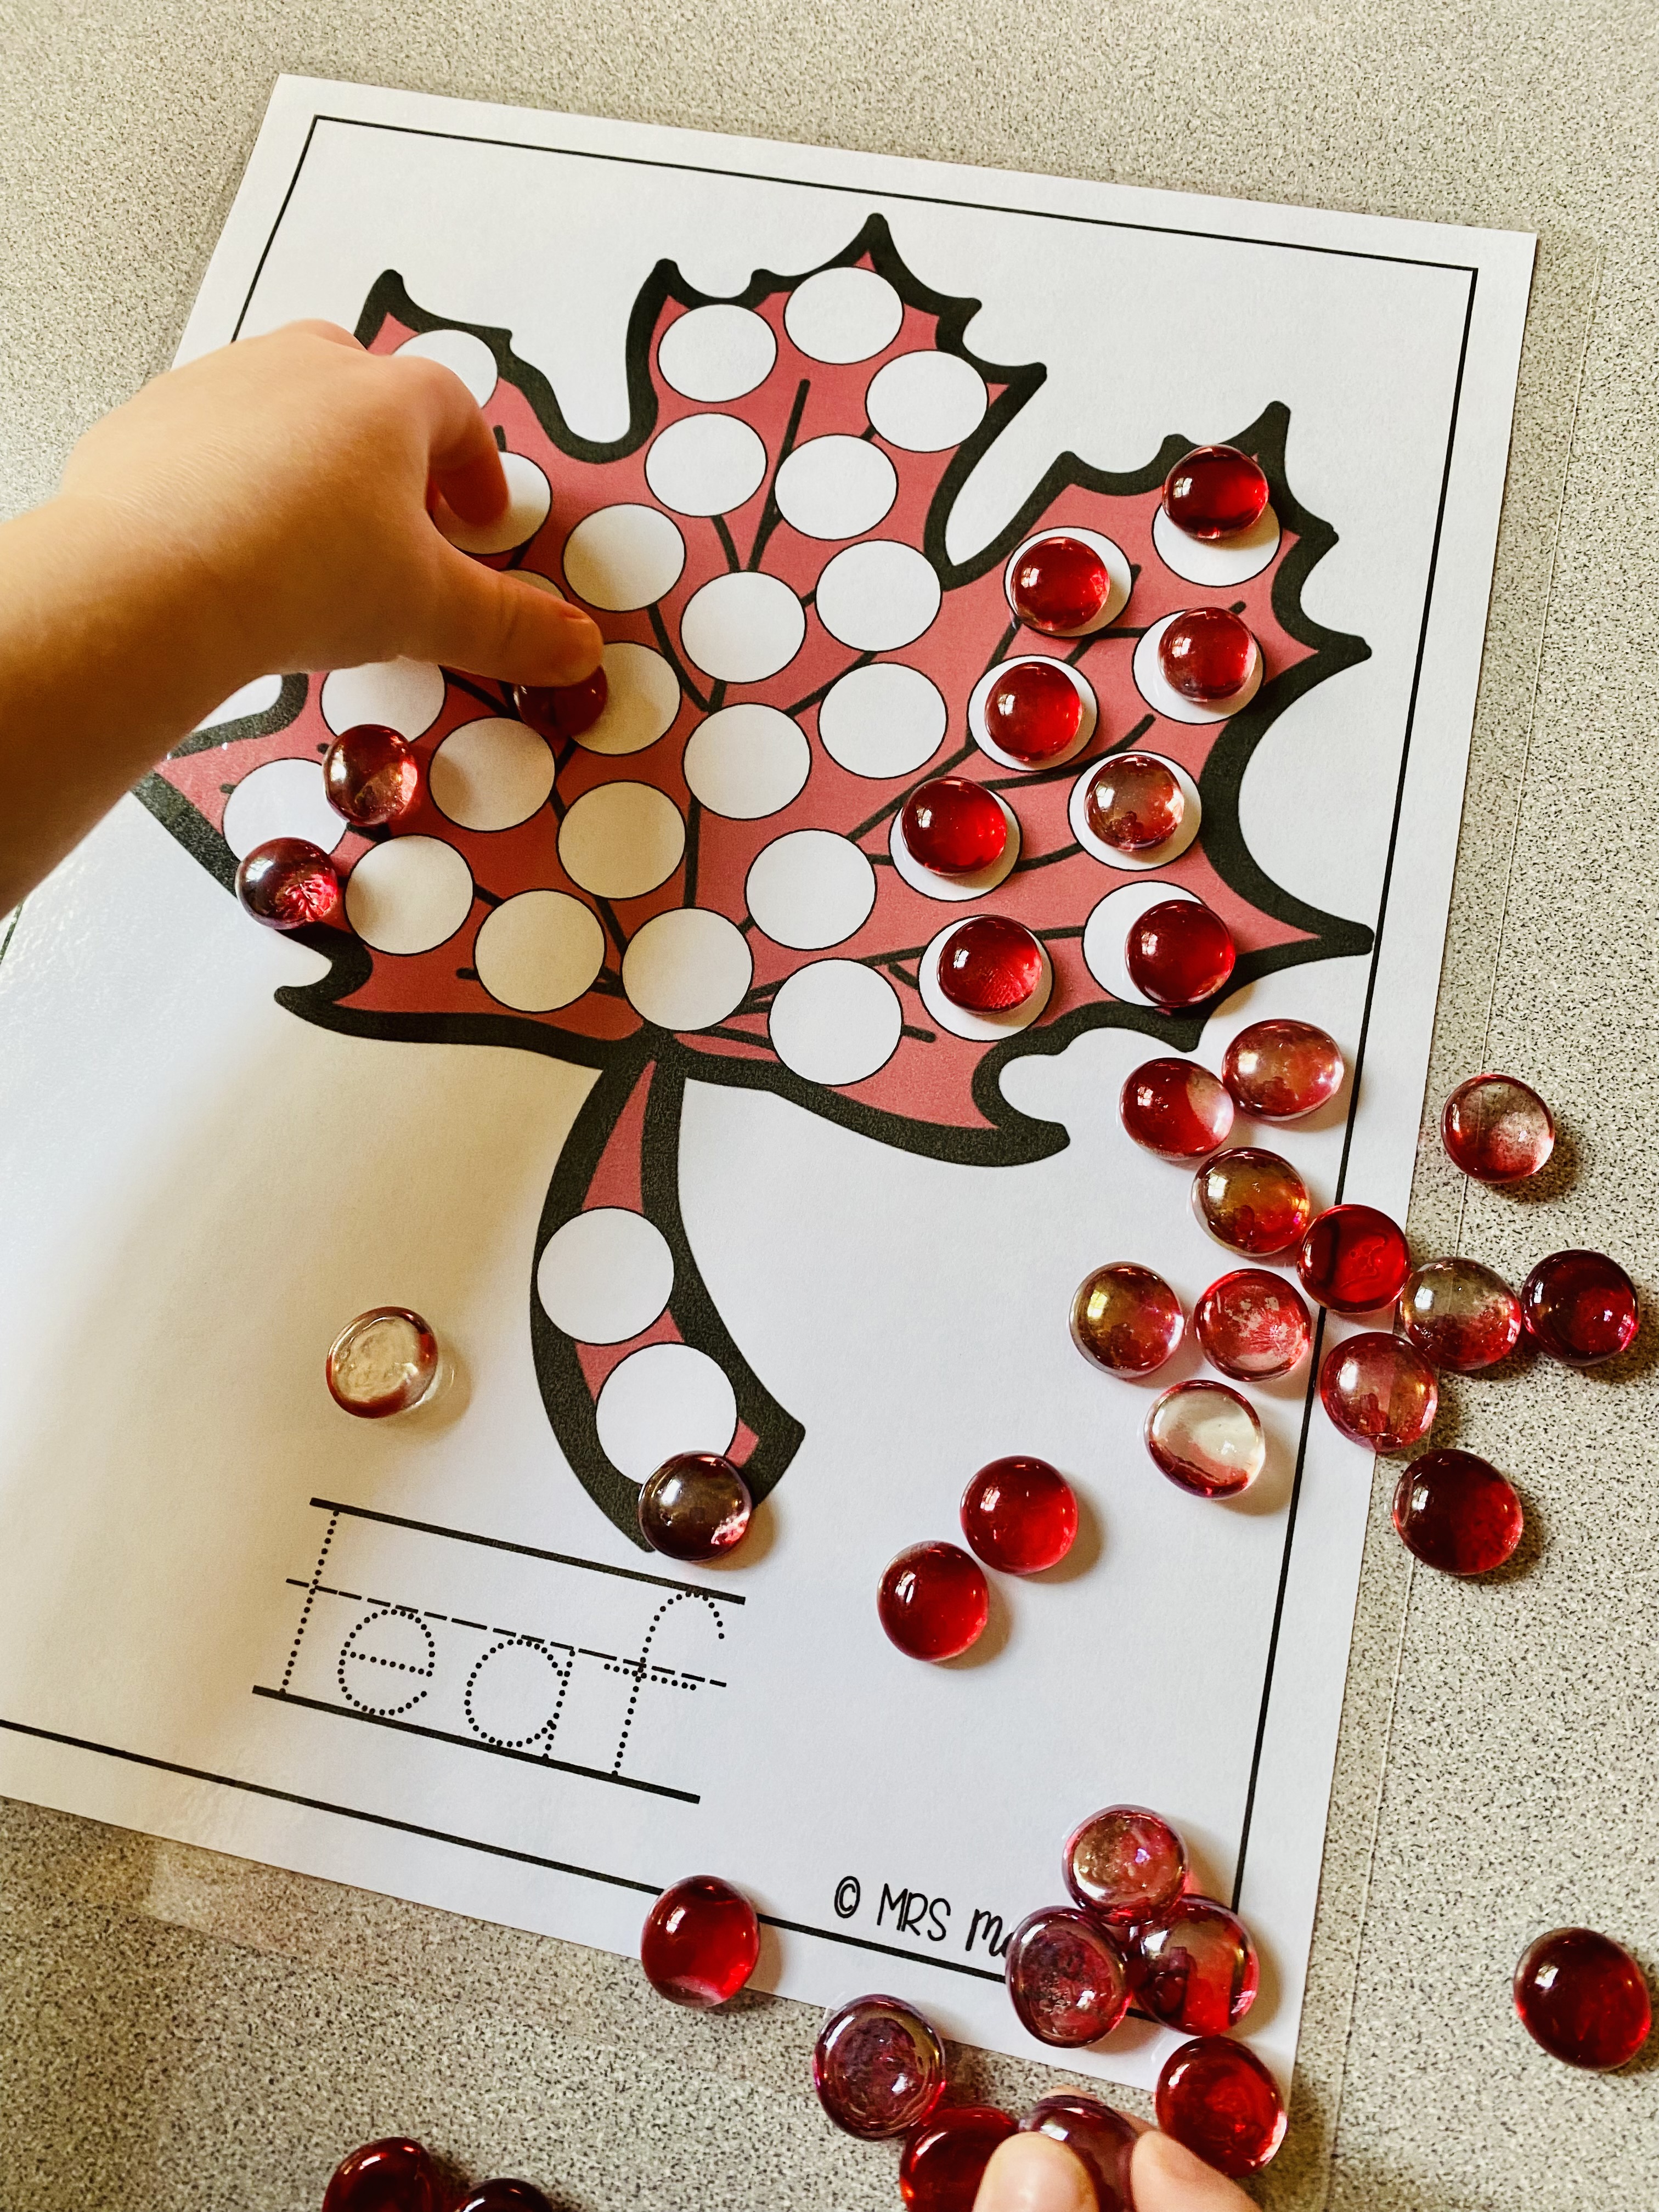
As with every theme, I like to work in some practice with math, especially counting. Lillian enjoys counting activities very much and is proficient with numbers 1 – 5. She still needs practice with one to one correspondence when it comes to number 6 and higher. To help her practice, I pulled out a Penguin Number Sort activity that I had on hand. This game has several penguin number mats (1 – 10) and fish cards representing numbers in different forms.

You can decide which penguin number cards to use and place the corresponding fish cards in a sensory bin. The fish cards represent numbers in word form, number form, tens frames and tallies. 

Because this was Lillian’s first time playing a game with tallies, I decided to stick with numbers she knows well. I chose the 3, 4, and 5 penguin cards and placed the corresponding fish cards in a sensory bin for her to find and sort. She still needs help with reading the words and that is fine. I just want her to develop a concept of print and know that numbers have a word too. We will worry about actually reading the words later!

I try to add an element of play and imagination to the learning games that I set up for the playroom. We weren’t just sorting numbers, we were catching fish for the penguin’s dinner! Lillian was excited to “fish” for the penguins and figure out who gets which fish. In the future, I would add a paper clip to each fish and use a magnetic fishing rod to make it even more fun. 

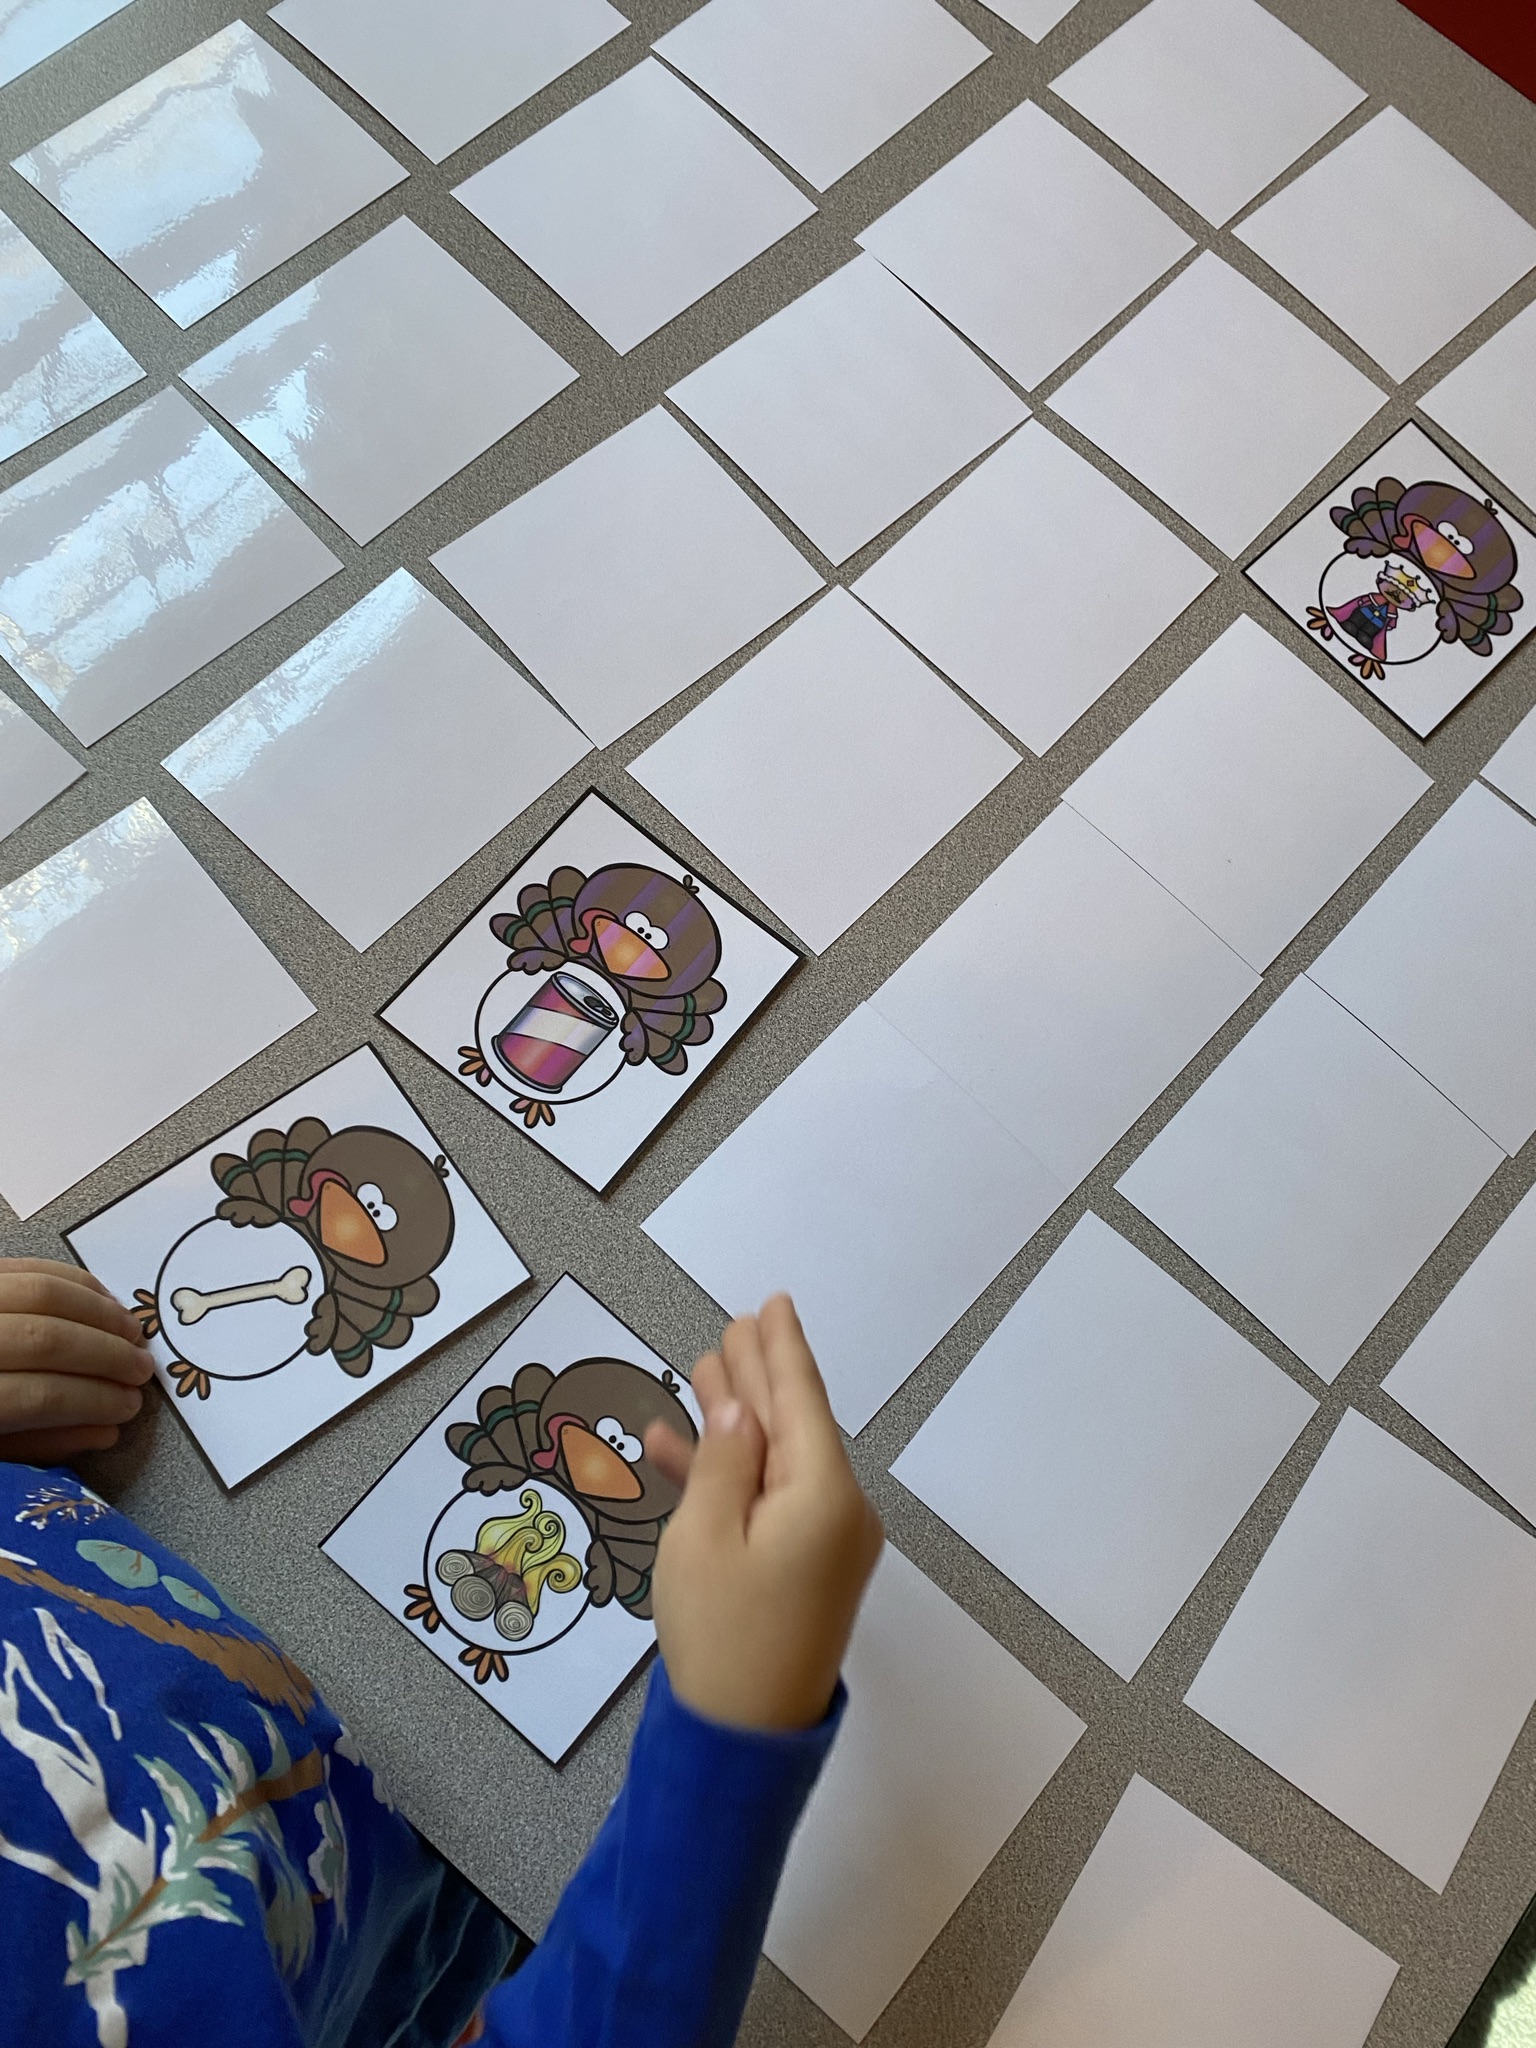
During our penguin week, we also took some time to practice letter recognition with this Penguin Alphabet Cover activity. This activity allows preschoolers to recognize, name and match uppercase and lowercase letters. The alphabet mats only present 5 – 6 letters at a time, so that activity is perfect for preschoolers with a shorter attention span or those to have trouble attending to activities that work with the whole alphabet at once. You can set this up as an individual activity, giving your students one mat at a time to “cover up” or a group activity, providing all 5 mats and having students work as a team to get them covered. As before, there is an element of play to this activity as well. You can pretend the penguins are all mixed up in the bin and need help finding the correct “home” on the icebergs.


Because I specifically wanted Lillian to practice identifying and naming the letters in her name, I quickly hand drew a new iceberg mat with the uppercase and lowercase letters of her name. I pulled the letters I needed from the letter cards and set them up in a sensory bin. I told Lillian to help me find each penguin’s spot on the iceberg and she was excited to help.

As she chose each penguin, we practiced saying the name of the letters, talked about uppercase and lowercase, then found their spot on the iceberg. When we were finished, we touched each letter and said their names again. Lillian has her L’s down pat because that one is first. To my surprise, she is doing a good job with lowercase i and uppercase I as well. The letters she is having the most trouble with is lowercase a and n. We will keep practicing!!

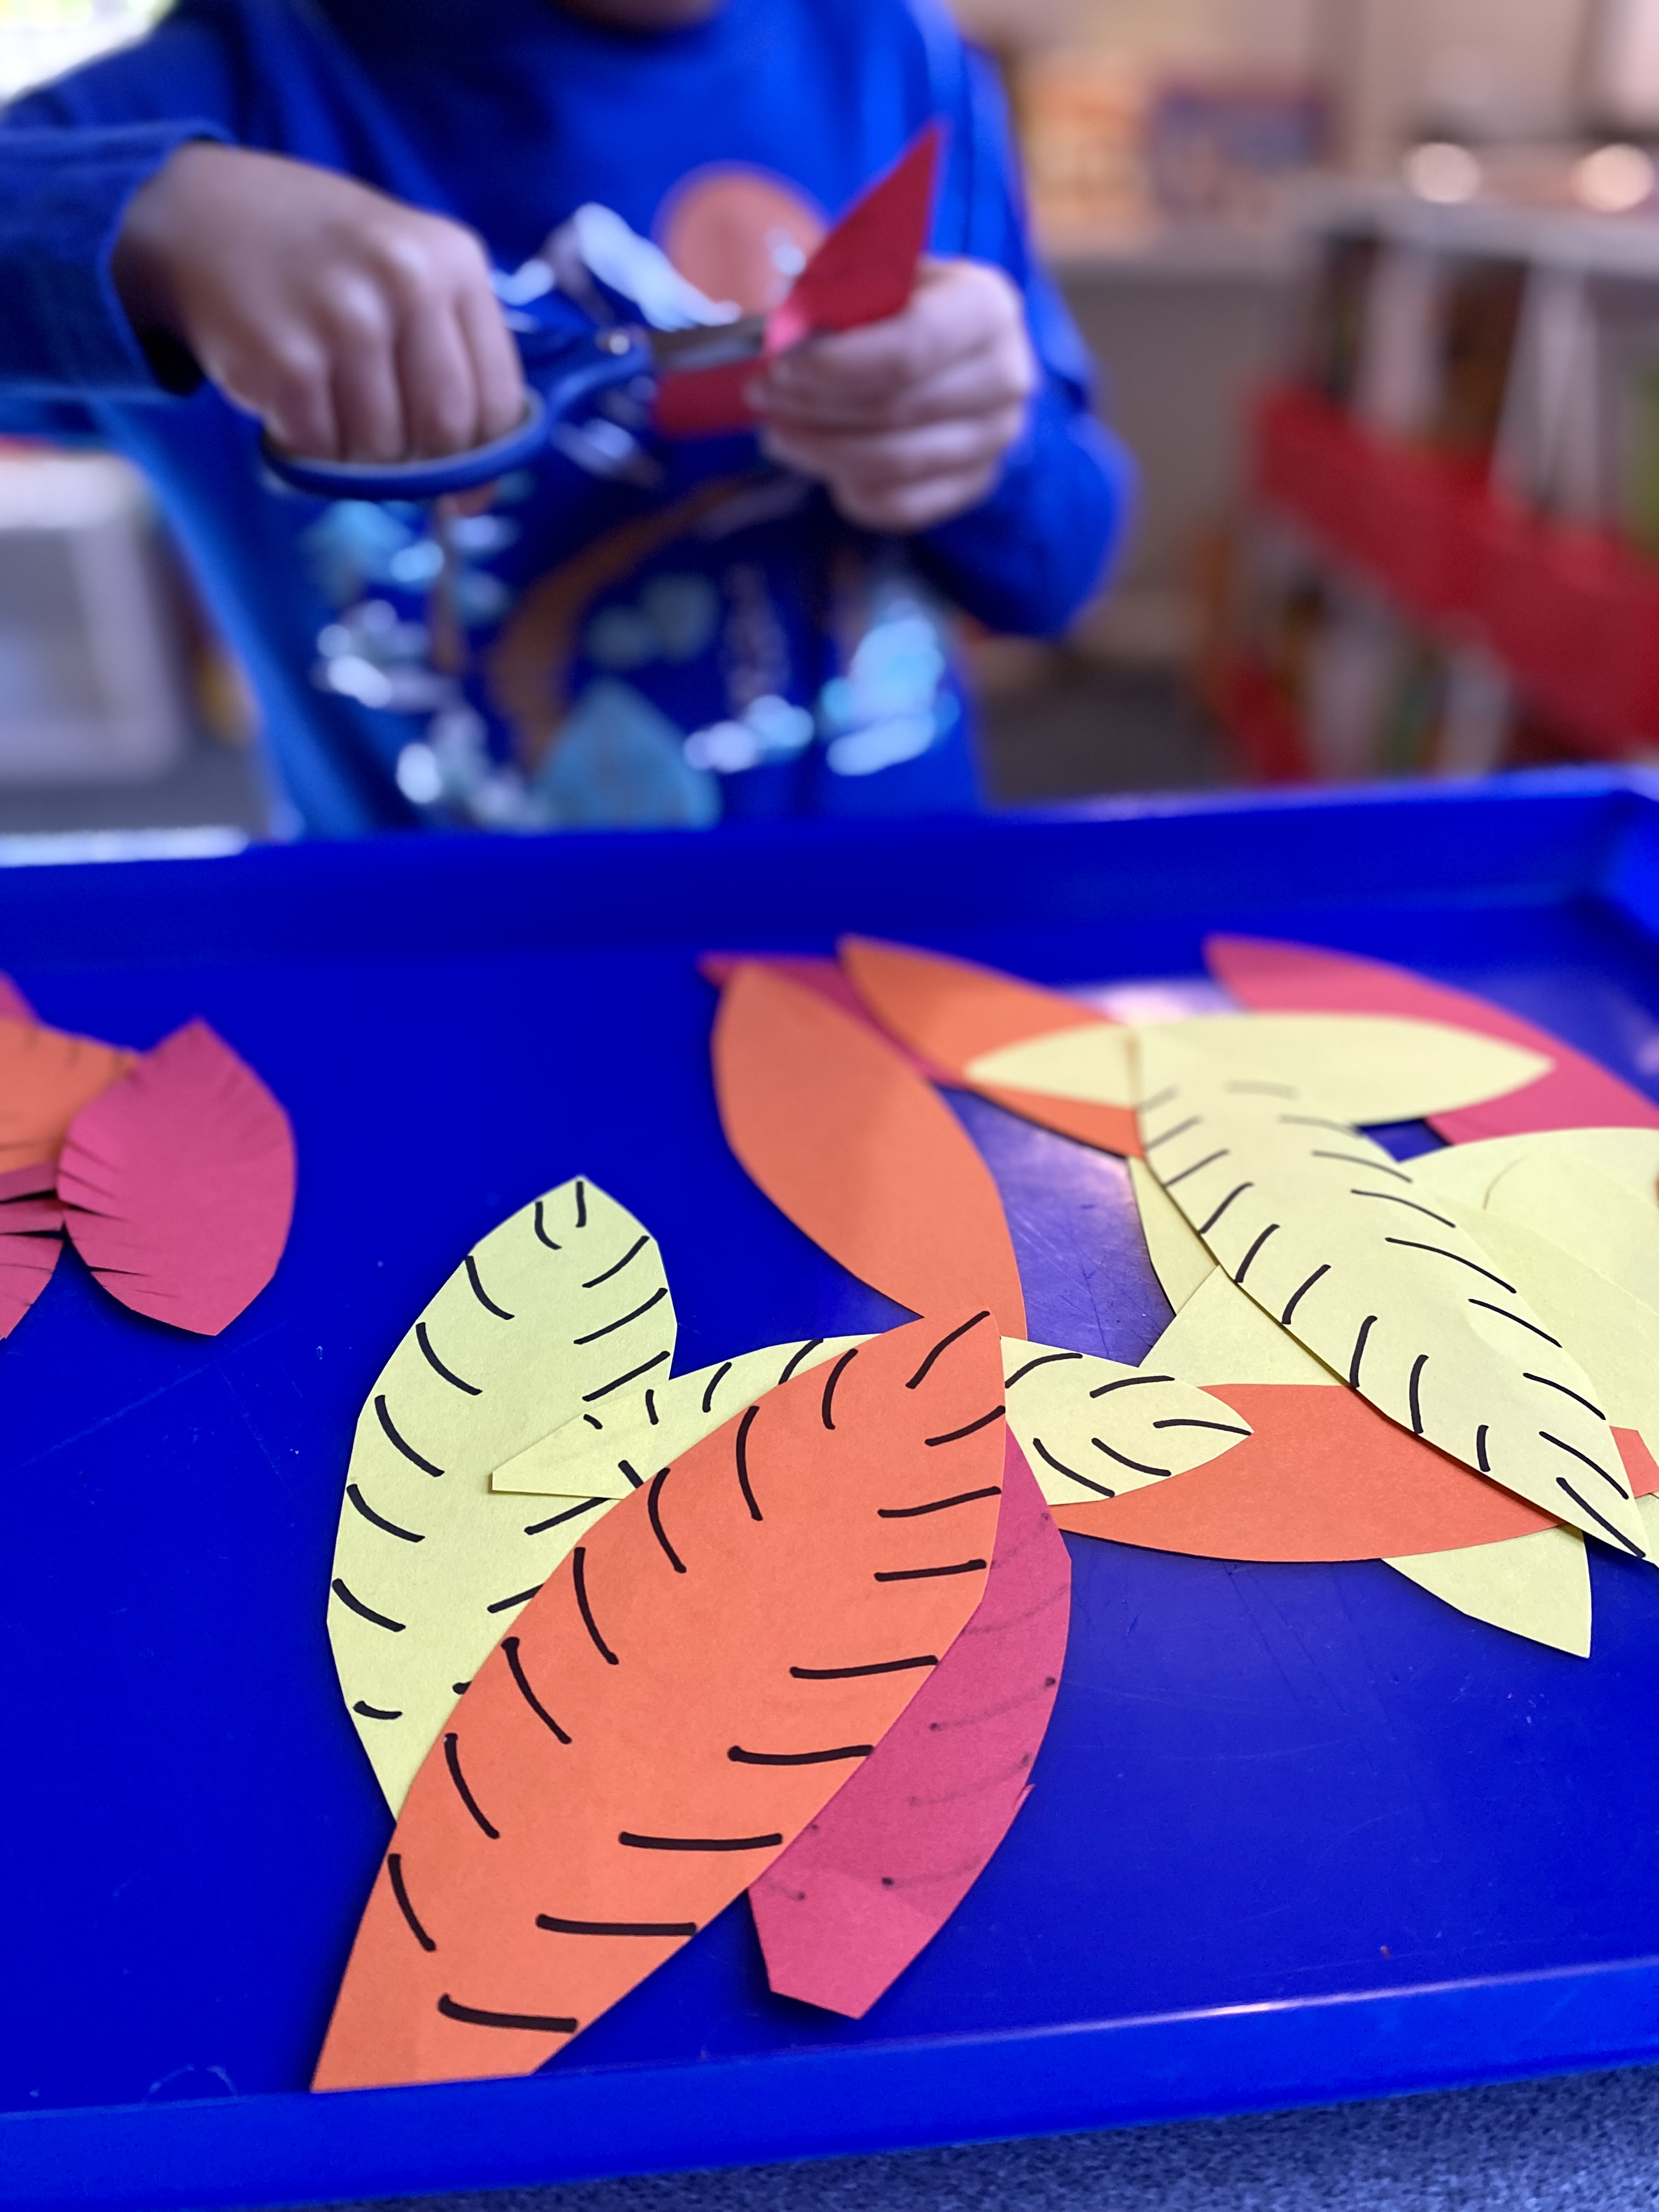
The last thing I want to share with you from our very fun week of penguin activities is our art. I decided to do a directed drawing with Lillian. She is newly four and just recently started drawing people in more detail. I figured this is the perfect time to introduce directed drawings to her. We used the directed drawing instructions from Pocketful of Preschool that I got as a free download several years ago. I just ran a quick search and wasn’t able to find it again (at least for free anyway). However, there are LOTS of options out there, including some free ones on TpT. Feel free to choose the one you like best!

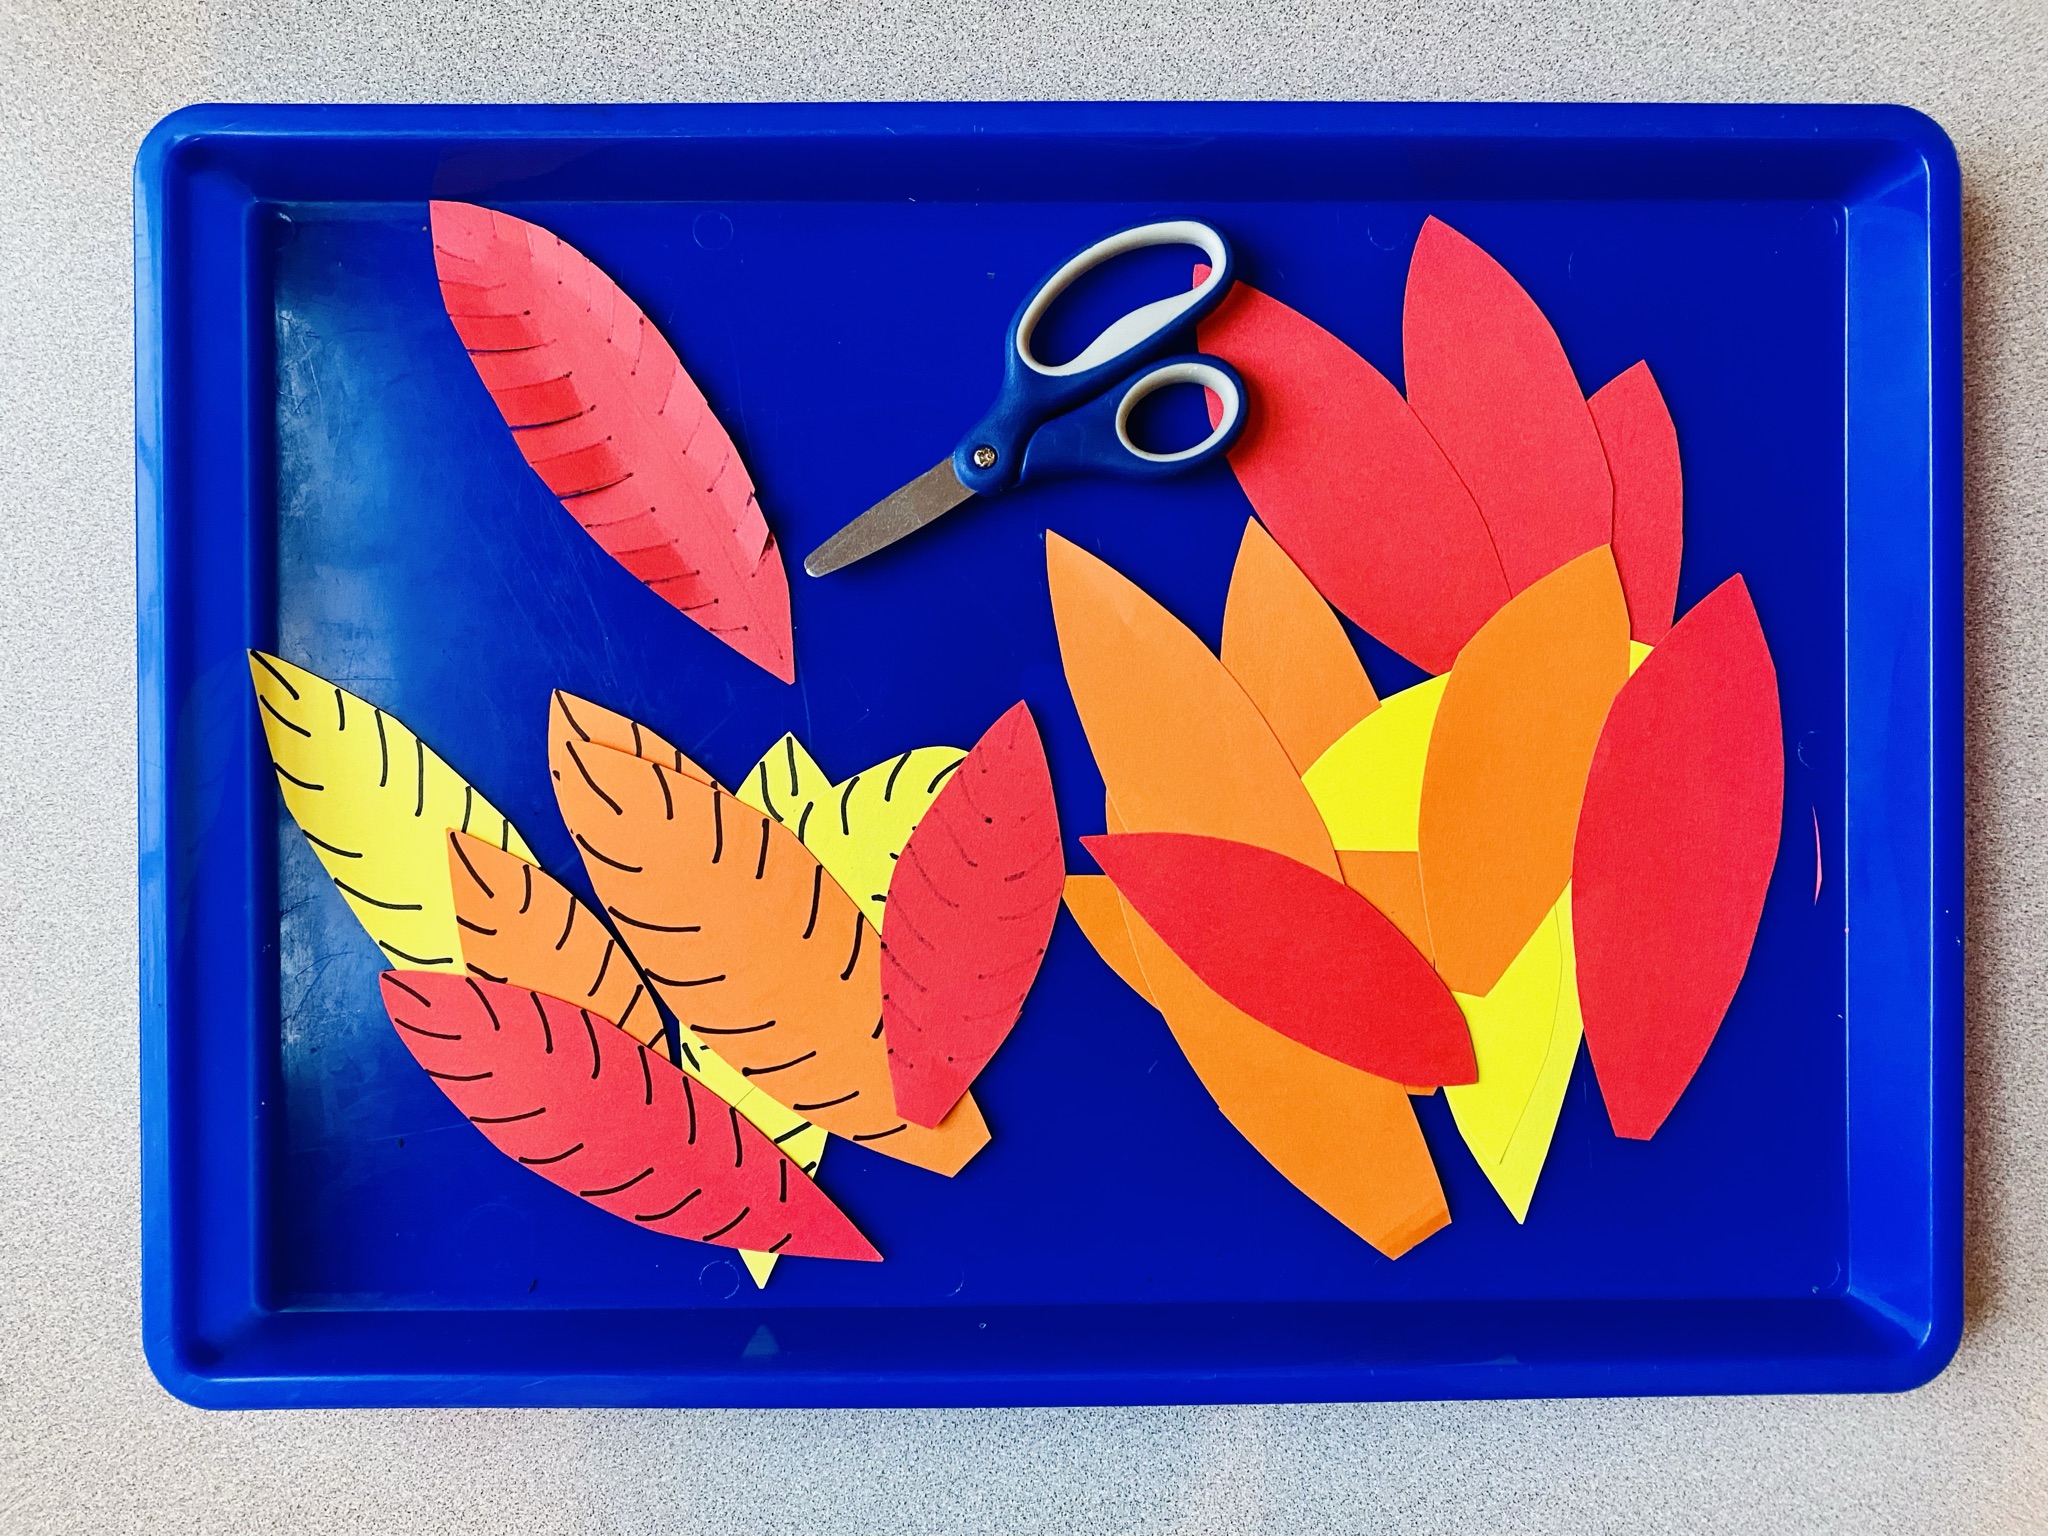
We started by painting the “snowy sky” background first. I provided a palette of paints with white, light blue, and light purple. I encouraged her to paint the whole paper and she was happy to oblige! On a separate sheet of paper, we went through each step of the directed draw together. She did deviate a little (as Lilly usually does!) because she wanted the nose to be a circle not a triangle. Once the paint was dry on our background, I colored and cut out our penguins and Lillian glued them to the snowy scene. 

Tada! Lillian was so excited to see the finished products and we will proudly hang these in our playroom. 

Thanks for checking out our fun activities from Penguin week! I hope this post inspired you to do some purposeful playing and learning with your preschoolers or helped you plan out your week in the classroom! If you need any links to the activities mentioned in this post, you can find them below.

You may also be interested in these posts!

Christmas, Fine Motor Skills

Christmas Tree Activities for Preschool

We are continuing our Christmas tree theme this week with lots of fun activities for preschool!! Here is our spin on some Christmas Tree themed fine motor centers.

Emmett and Lillian, my preschoolers, flocked right to the Play-Doh tray! (Can I just say how much I love these chip and dip dishes from the Dollar Tree??) I set up the divided tray as an invitation to create a Christmas tree. I included pony beads, plastic gems, and festive fabric trim. Emmett asked for stars, which I wasn’t able to include, but will keep an eye out for them for next time.

Lillian, my two year old, was very engaged in this activity, which honestly surprised me! I’m still trying to figure out what will hold her attention for longer than a few minutes so this was a win.

Here are our final products! The kids had fun creating these and were very proud to show them off to me.

I found a great pack of foam Christmas tree stickers at Michael’s and grabbed them with the intention of creating this Christmas tree discrimination sort. Emmett found this a little too easy and lost interest. He just turned five- I would say this activity is more suitable for a 3 or 4 year old preschooler.

Lillian, on the other hand, played with it for a while, but made up her own rules. She had lots of fun transferring the bells from a different activity and trees from bowl to bowl.

Next, I set up the tall, thin triangles from our Picasso Tiles pack to look like little Christmas trees. I challenged Emmett to figure out how many bells he could hang on each tree. He did this challenge rather quickly then made it his own.

Emmett decided to get the square Picasso tiles and build a structure that could hold ALL the bells. He had fun constructing different shapes and filling them with bells. He discovered that a cube would hold all the bells at once. I love how this activity led to even more experimenting than I intended.

Our final Christmas tree activity was a simple invitation to decorate a Christmas tree. I set out a small tree that I already had in our decorations and a set of shatter proof Christmas ornaments. Emmett helped decorate for a few minutes, but Lillian sat here quite a while decorating and redecorating the tree. Then I left it out in the playroom to do and redo again.

The fine motor work that had to go into grasping the string, separating the hoop, and placing it on the branch is great practice for preschoolers and fun too! As with any fine motor activity with small pieces, know your preschooler. My two year old needed supervision with these activities and when she was done I put them out of reach.

We had a lot of fun with Christmas trees this week! Which Christmas tree preschool activity are you going to try???

Let’s connect! Find me on Instagram, Facebook and Pinterest by clicking the social icons at the top of this page.

Fine Motor Skills, phonemic awareness, Thanksgiving

Turkey Activities for Preschool *Free Printable*

It’s almost Thanksgiving!! Turkey day was a success with Emmett, my preschooler. Read on to see all the fun things we did to explore Thanksgiving and turkeys! You can also grab my Turkey Sound Cover Up activity for FREE!

I always start our learning time with a read aloud or two. I have my Thanksgiving books divided into three categories: turkeys, Thanksgiving traditions, and gratitude. Run, Turkey, Run, The Night Before Thanksgiving, 10 Fat Turkeys and This Little Turkey are a few of my turkey picks for this year.

Our first activity was an invitation to create a playdoh turkey using items in our loose parts tray. Our tray included craft feathers, playdoh, rollers, googly eyes, and orange pipe cleaners. My intention was to prepare brown playdoh for the turkey’s body, but sometimes you just run out of time! There’s always next time.

I decided to make a pink turkey with a few tail feathers. Emmett’s turkey was orange with some prominent blue wings. He took this activity a little further and decided to make a “turkey monster” to go with his turkey. He insisted that the turkey monster be featured in my post as well!

Our next activity came from Playdough To Plato, another fantastic blog. These turkey rhyming cards are FREE and you can find them HERE if you would like to use them as well. Emmett is just getting the hang of rhyming words and he loves matching games so this activity was perfect for him.

I love when I can work in some fine motor skills practice into our day. I precut these colorful turkey feathers ahead of time. I free handed them, but if you need a template, there are plenty of free ones out there! Check out my Thanksgiving Pinterest Board to find one. I presented some with lines and some without and allowed Emmett to choose how he wanted for “feather” them.

Finally, we practiced beginning sounds with this Turkey Sounds Cover Up activity. Emmett was excited to practice identifying the sounds at the beginning of each picture on the turkey. I wrote letters on simple plastic BINGO chips, but you can use anything you’d like to cover up the pictures, including alphabet erasers, playdoh and alphabet stamps, alphabet tiles, etc.

You can download this Turkey Sounds Cover Up activity for FREE by clicking the button below.

Please don’t be shy! Click the icons at the top of the page to connect with me on Facebook, Pinterest and Instagram. @mrsmamabird #learnwithmrsmamabird

You may also be interested in…

Fall, Fine Motor Skills

Apple Tree Spinner Game **Free Download**

As September comes to a close, I want to sneak in one last FREE apple game for you!! Don’t pack up your apple unit without adding this to your file. It’s super easy to play and my preschooler had a blast with it.

As I was rummaging through my fall box of goodies, I found these adorable mini apple erasers in red, green and yellow. I realized I hadn’t used them for anything yet and wanted to create something for them before September was gone! Of course, you don’t have to have these exact mini erasers to play the game. Any manipulatives can be used as long as you have some red, yellow and green. Things like buttons, flat marbles, BINGO chips, or poms poms will work perfectly.

How to Play

Gather your materials:

  • Apple Tree Game Board
  • Manipulatives (10 red, 10 green and 10 yellow)
  • 2 paper clips
  • pencil

Directions:

Students can play the game independently or with a partner. Give each student or pair of students a game board. Instruct them to place 10 red “apples” on the first tree, 10 green “apples” on the second tree and 10 yellow “apples” on the third tree so that all the circles on the trees have “apples” in them. Have your kiddos spin both spinners and remember what color and what number they land on (i.e. red 3). Then instruct them to remove that particular amount of apples from that certain color tree (i.e. Pick 3 red apples). Have students take turns “picking apples” until the game board is clear. Students can work together to pick all the apples as a team or they can compete to see who picks the most apples in the end.

Hint: If your students get 2 trees empty and only have one remaining color, you can tell them to just use the numbers spinner.

I had fun making this game really colorful and eye-catching, but I know printing several color copies can be detrimental to your ink supply. So I also took the time to create an ink-friendly, black and white version of the game. The students can simply color in the circles on the spinner before they get started.

That’s it!! If you’d like to add this fun Apple Tree Spinner Game to your collection of apple activities, just click the button below for your FREE download. Also, I love to hear from you, so please leave any questions or comments below!

Do you need more ideas for you apple unit?? You may also enjoy these resources!!

Fall, Fine Motor Skills, Seasons

5 Ways to Use Do A Dot Pages Without Do A Dot Markers **FREE Download**

Teachers and parents are always short on time. If I can get multiple uses out of the same resource, I consider that a major WIN. Do A Dot printables are so fun and there are an abundance of free resources available online that you can download and print. My kids absolutely love using the dot markers to decorate their artwork. But, truth be told, sometimes I’m reluctant to get the markers out for them to use. My toddler loves to dot herself and her clothes and my preschooler can finish dot art pages pretty quickly with the markers. It often turns into a huge mess in a very short amount of time. In an effort to make Do A Dot printables more worth their while, I brainstormed and tested a few new ways to use them.

Do A Dot Play-Doh

If you find Do A Dot printables available in color, grab them for your stash!!! I designed 4 versions of this printable, specifically with the playdough idea in mind. My preschooler chose his favorite color to work on. It was a great way to practice manipulating dough and identifying colors. Make sure you laminate your pages so that you can use and reuse them without the Play Doh ruining the color.

Do A Dot Buttons

I am the type of person who saves craft supplies for all eternity and I found these buttons stashed away in a jar in my cabinet. They worked perfectly for this fine motor activity. My preschooler chose the red apple to complete this time. My buttons had a bit of variation among their size and color, which sparked some meaningful conversation. Best of all, when we were finished, we could curl up the page and slide the buttons right back into the jar. No mess!!!

Do A Dot Flat Marbles

Adding flat marbles to the Do A Dot pages was a hit!! My preschooler spent the most time with this fine motor center. The flat marbles are smooth and heavy enough to sit still on the pages where you place them. Not to mention, they are shiny and see through!! This option was very engaging for my kids. Flat marbles, also called glass vase filler, can be found at any craft supply store. If you are lucky, you can find the color you need at a dollar store and save some money.

Do A Dot Circle Labels

The Do A Dot Circle Label option can be used in color or black and white. I chose to use color this time, but it would be just as fun letting the kids decide which color stickers to use on their creation. Using circle labels gave me a chance to do a little differentiation with my kids. I left the labels blank for my toddler and added letters on the labels for my preschooler. I wrote upper case letters on the apple and lower case letters on the labels. My toddler was able to develop her fine motor skills and hand eye coordination while my preschooler practiced identifying letters. You can even use these labels to match sight words or numbers as well.

Do A Dot Light Box Exploration

In order to use the Do A Dot pages for a light box exploration, you will need to print the black and white version. I used regular printer paper and the light shone through just fine, but if you have transparency paper, that would work even better. I am currently in a home setting, so I don’t actually have a light box. But whenever I plan fun light box activities, my son’s tracing tablet will do the trick. The circular chips that we used to place into the circles are transparent, so they looked really bright up against the light. My toddler absolutely loved this activity. She attended to it for at least 15 minutes, which is a lot of time for her to do just one thing, considering she’s not even two (I will also mention, I monitored her the entire time as these pieces can be choking hazards).

There are so many Do A Dot printables available on the internet, many for free. If you need help narrowing down the options, feel free to follow me on Pinterest (Click the Pinterest icon at the top of this page). I will only pin quality links so you won’t have to waste your time figuring out if the downloads work. They will!! If you like the apple Do A Dot printables that were featured in this post, download them for FREE by clicking the button below. And please don’t forget to comment below if you saw something you loved!! I love to see and hear about my resources in action. Thank you!!

Do you need MORE Do a Dot Printables for your collection?? Click the button below to discover more Fall Themed Do a Dot Printables for your fall centers.